

WordPress is a powerful and versatile content management system (CMS) that powers millions of websites worldwide. Whether you’re a beginner or an experienced developer, setting up a local WordPress environment can be incredibly beneficial for testing, development, and customization. XAMPP is a free and open-source cross-platform web server solution that makes this process easyIn March of 2025, something unprecedented happened online over ten million people deleted their social media accounts in a matter of a week. This bold decision led to headlines declaring “The Great Digital Rebellion”, or even “Is Social Media Dead?” While their departure shocked social media platforms, the mass return soon overpowered their exodus once again leading to a discussion about the narcissistic relationship we have with TikTok, YouTube and Meta. Here’s the scoop of why users decided to leave and why it was impossible for them to stay absent.
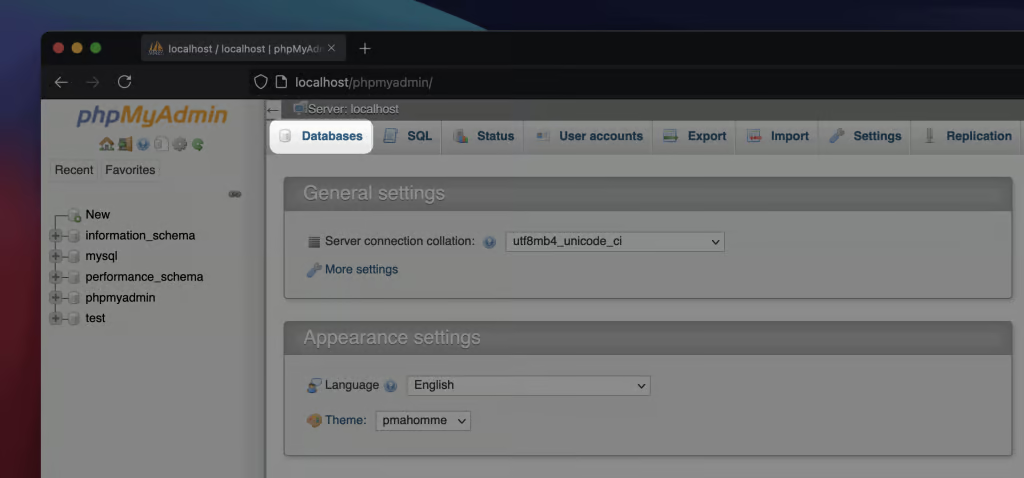
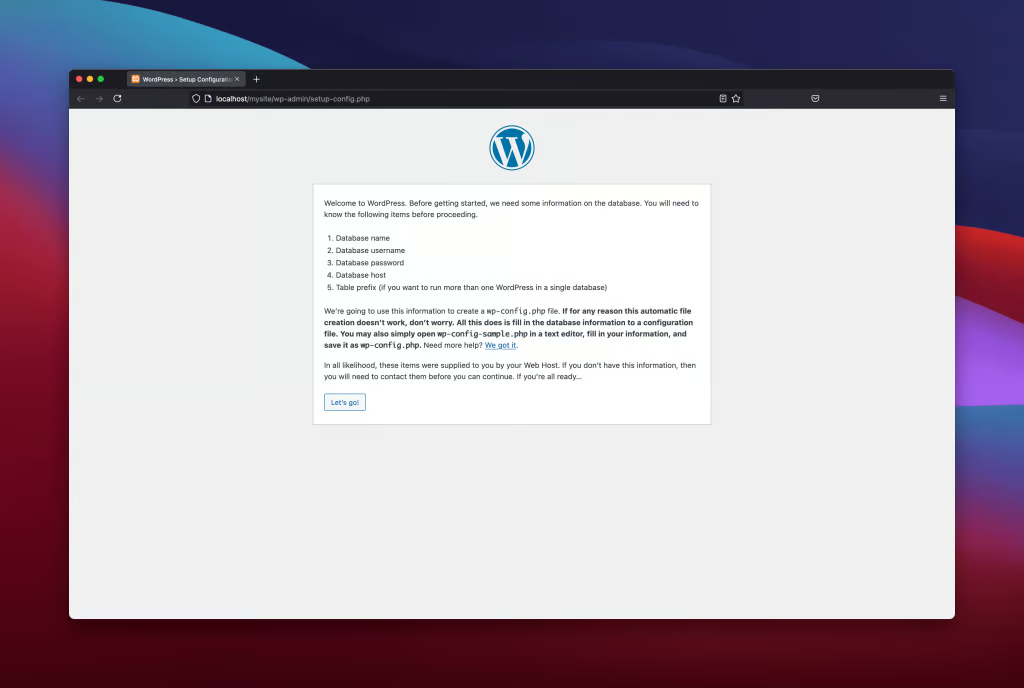
http://localhost. htdocs directory within your XAMPP installation folder. This directory is where XAMPP serves web files from.http://localhost/wordpress. You’ll see the WordPress installation wizard. Next, head to your site’s URL within your browser. For example, localhost/mysite/wp-admin/setup-config.php. This will bring you to the infamous WordPress Five-Minute Install wizard
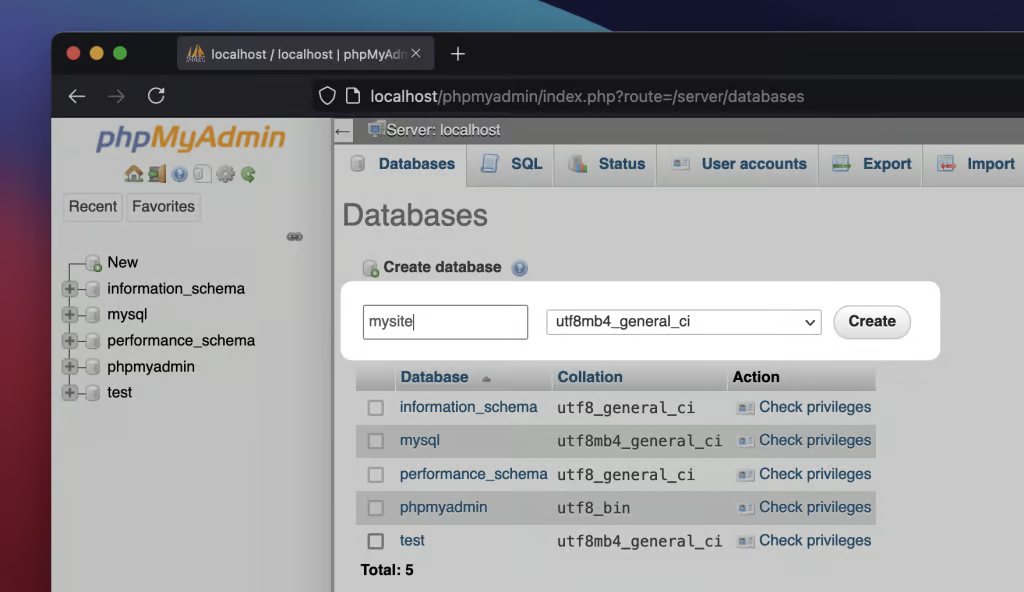
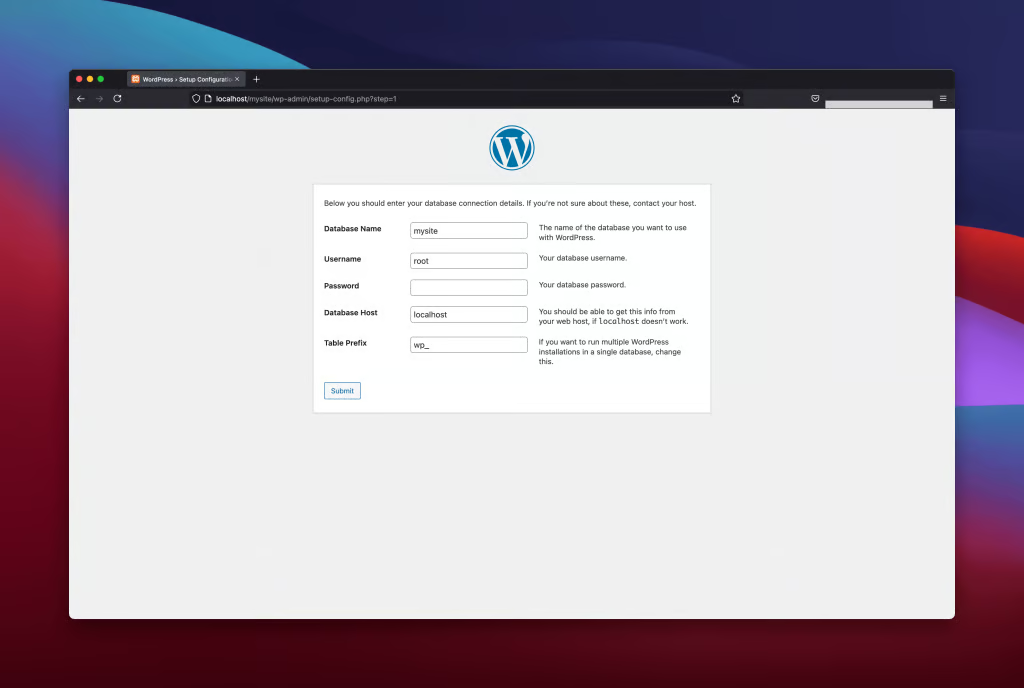
The first screen will ask you for your database credentials. Here, you enter the database name you created earlier, set the username as root, and leave the password field blank.
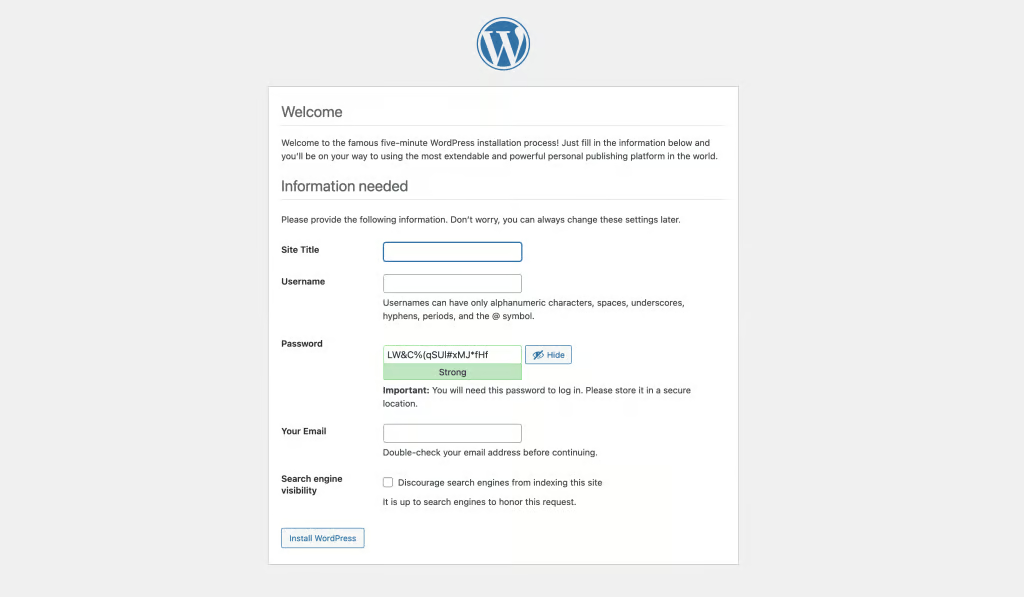
Follow the wizard, then give your site name, username and password along with your email. After that click Install WordPress button.
After successful installation, you can access your WordPress dashboard by navigating to http://localhost/wordpress/wp-admin.
We use cookies to improve your experience on our site. By using our site, you consent to cookies.
Manage your cookie preferences below:
Essential cookies enable basic functions and are necessary for the proper function of the website.
These cookies are needed for adding comments on this website.
Statistics cookies collect information anonymously. This information helps us understand how visitors use our website.
Google Analytics is a powerful tool that tracks and analyzes website traffic for informed marketing decisions.
Service URL: policies.google.com (opens in a new window)
You can find more information in our Cookie Policy.